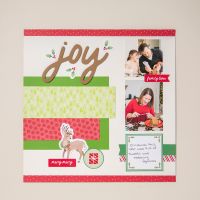
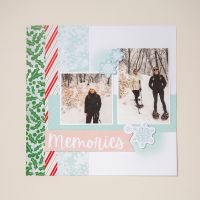
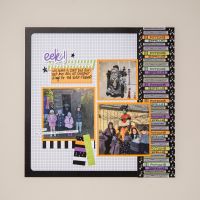
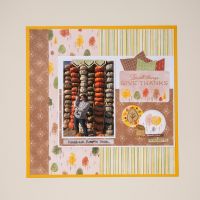
Scrapbooking Kits by Stampin' Up! - Reindeer Days
Tip #1 - I loved the easy cutting instructions. But here's my first caution.... When cutting pattern paper be sure to follow the instructions for direction on BOTH sides of the pattern paper. I goofed but thankfully I lucked out and my Christmas trees were not sideways on my paper. LOL
I cut all the paper first and placed the pieces in piles according to layout number.
Tip #2 - instructions tell you to label each piece by layout number & a letter (which ties to the layout diagram). That's a lot of work. I left that step out - placing the pieces in a pile by layout number was good enough. It was pretty easy to see where each piece belonged on the layout without the letter code.
Tip #3 - you need enough space to layout the pages side by side so you can make sure to line up the elements. This will create a better look when you view your layouts in a book.
Tip # 4 - Just in case you don't have your photo's ready when you start the process, you can add the photo place holders. But be sure to add them with removable adhesive.
Tip # 5 - Don't be afraid to switch a 4 x 6 photo with two 3 x 4 photo's (or visa versa) depending on which photos you are using. If you have your photos ready, that will make the process so much easier.
Tip #6 - The last layout called for me to use the pretty patterned paper for the base layer. But only the top and bottom 1/2" was visible in the layout. So, I used a piece of Basic White 12 x 12 for the base layer. Then I cut two 3/4" strips from the pretty patterned paper and glued them across the top and bottom of the page. That allowed me to have a full sheet and a partial sheet to use for another craft project - THINK CARDS or another layout.
This kit had plenty of supplies. I had such a collection of leftovers: 4 full sheets of cardstock/patterned paper, several half sheets and lots of smaller pieces. There were also some stickers that I did not use.
Although I stuck with the design as directed, I could see there are lots of ways you could change it up a bit to use your own creativity!
Next time I'll try adding some of my own stamped images and die cuts to make it really "mine". WHAT FUN! I am definitely hooked.


No comments:
Post a Comment