Wednesday, May 28, 2025
Friday, May 16, 2025
Another Great Paper Pumpkin kit is coming in June
JUNE: Full of Charm
Subscribe May 11–June 10
Send your loved ones elevated cards with heartfelt sentiments!
• Makes 9 cards: 3 each of 3 designs with 9 coordinating envelopes
• Envelopes and card bases with decorative gold foil
• Precut paper pieces and unique sentiment labels
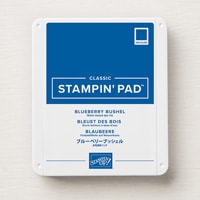
• Coordinating colors: Berry Burst, Cajun Craze, Early Espresso, Mossy Meadow, Pretty Peacock (Classic Stampin’ Spot), Timid Tiger
Coordinates with the Floral Charm Suite Collection (item 166141)
Subscribe to get your Paper Pumpkin kit today!
(click the link above & choose me as your demo)
Friday, April 11, 2025
Paper Pumpking for May looks amazing
If you haven't tried Paper Pumpkin, May is a great month to start.
Monday, March 17, 2025
FUN FOLDS - 2 Amazing designs with Wild Flower Birthday Specialty DSP
Showcasing Wildflower Birthdy Specialty Designer Series Paper
Her deligtful card inspired me to use the Wildflower Birthday Specialty DSP from Stampin' Up! to make this birthday card.
If you love the design, like I did, you can see her tutorial on Instagram. She is amazing.
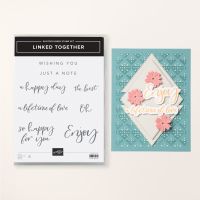
I used the Linked Together Stamp set to stamp the greetings and Basic White cardstock for the card base. The rest of the card comes from the amazing Specialty paper.
The colors are so light and cheerful - who wouldn't want to get this delightful card.
And another idea....
I also used this paper pack to create a fun, fun card using flip flaps. And of course, it's another fun fold. This idea was shared by another amazing demonstrator, Patty Bennett of Patty Stamps.
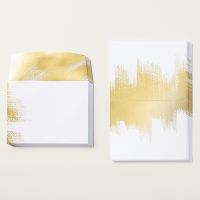
The card base uses the Brushed Gold Cards & Envelopes,
Again, you can see that the paper is the star of the show here!
As you can see, Stampin' Up! products inspire the most creative ideas. All this fun with just paper, ribbon and some Filp Flaps.
Products I used can be seen at the bottom of this post.
Product List
Tuesday, March 11, 2025
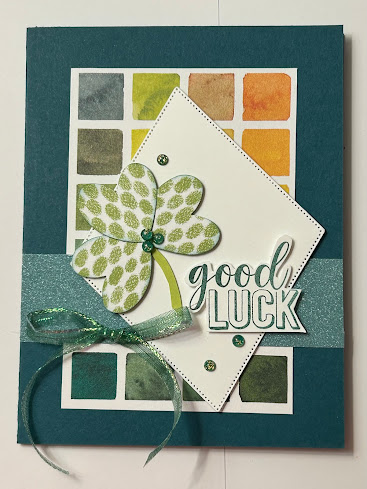
Get Ready for St. Patrick's Day
This celebration is full of fun Irish Stap Dancing,
Bagpipes, Parades and need I say, a bit of Guinnes (if you're so inclined).
How about sending a cute card to your friends to tell them "Good Luck"!
Tuesday, February 18, 2025
Send someone a good laugh for their birthday
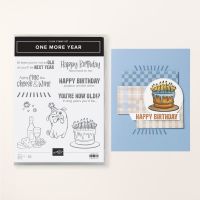
One More Year brings a smile!
I love this stamp set - so clever and fun. And we all need to laugh a little more! It keeps us healthy, right?
Thanks to Crafty Cards with Leslie for the wine and cheese card.
I cased it from her. Loved her layout and the color combination with Blackberry Bliss ink and Daffodil Delight plus touches of Peach Pie for the cheese.
I added a bit of fun by using the Fine Tip Glue pen to add shine to the glass & bottle of wine. Hopefully you can see it.
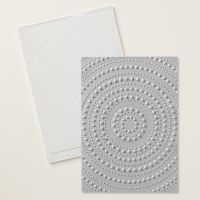
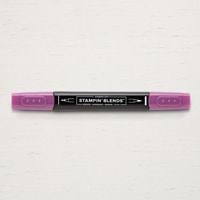
The dots are from the Dotted Circles embossing folder colored with the Blackberry Bliss blends.
BELOW....
The dog is a favorite! He just appeals to me! I think I would want to hug him all day.
The circle die cuts are created with the Spotlight on Nature Dies. Love the versatility of these layering dies.
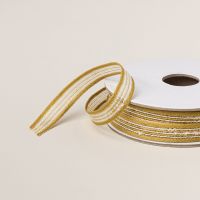
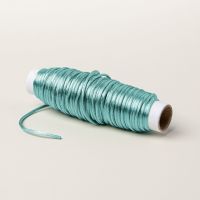
Just love the Lost Lagoon Soft cording! It makes beautiful bows and has a bit of shine to it that adds a great look.
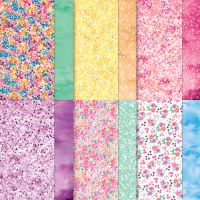
The designer series paper, Bloom Impressions, is free during Sale-a-bration! WOW
Be sure to get your free products in February 2024
Product List
Tuesday, February 11, 2025
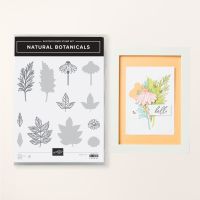
Casing the Catty with Natural Botanicals, a Reversable Stamp
What is a Reversable Stamp you might ask. You are able to stamp the detailed image (just like always) but then you can turn it over and stamp the solid image too.
I cased this card from Stampin' Up!'s spring mini catalog. It can be found on page 56. The card is so lovely but it's simple and fun to do.
The images are large enough to create lovely focal points on your card or to create a great background like this one.
I stamped the detailed image with Shaded Spruce on the card front of Lost Lagoon cardstock. Then I turned the stamp over and stamped again with Lost Lagoon ink. TIP : be sure to use the Foam Mat under the cardstock when stamping to get a good, solid image.
To finish the card:
- Card base is Lost Lagoon cardstock 8 1/2" x 5 1/2" folded in half
- The card front is Lost Lagoon cardstock cut 4 1/2" x 5 1/2"
- Stamp the greeting in Wild Wheat ink (from Linked Together stamps set) on white cardstock
- Stamp the flower in Delightful Daffodil ink and color with blends, pencils or markers
- Stamp the leaf images with Lemon Lime Twist ink
- Punch out with the 2 1/2" circle and add with Stampin Dimensionals.
- Wrap with linen Thread 3 times, tying in a bow.
- Add to the card base with Stampin' Dimensionals
- Add some splatter with the Lost Lagoon Stampin' Write Marker
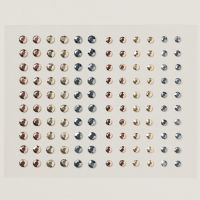
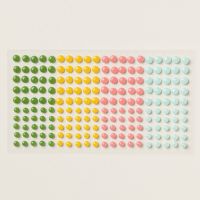
- Add the gems.
A wonderful card to send to a special person in your life.
You can purchase all the products to make this card - see the links below.
Note: The 2 1/2" circle punch is retired but any punch or dies that will give you a circle that is close to that size will work.
Also, to create splatter you can use the Lost Lagoon blends, or Stampn' Write Marker, a water painter dipped in your stamp pad or you could easily use a black Stampin' Write marker.
Product List






.jpg)


